Crochet Square Bunny
- Madison Tyndall
- Jun 28, 2025
- 2 min read

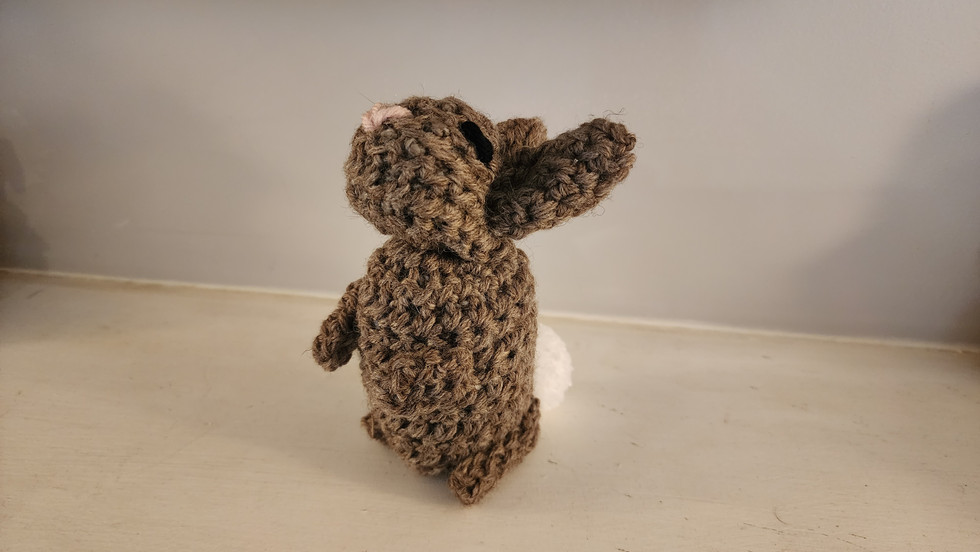
This bunny was too simple not to post, and it turned out so cute! All you need to know is how to crochet a square in single crochet! This is a nice project for summer, especially when it's hot out because it's such a small piece. A few of these bunnies would be cute to use for decoration in spring or around Easter time. It takes less than an hour to make one!

Materials:
Medium weight acrylic yarn (medium brown, white, black, light pink)
5 mm crochet hook
Crochet/tapestry needle
Poly-fil stuffing
Scissors
Pom pom for tail
Instructions:
Start with the medium brown yarn (or whichever color you've chosen for the main body).
Make a slipknot. Chain 20.
Single crochet (SC) 24 rows (or until you have a square).
Using your needle, take a separate piece of yarn and thread it through the crochet square (in a triangle shape at the top). Please see the picture below for more detail.


Pull the ends of the string slightly. Fill the inside with some stuffing, then tighten string ends all the way to form the head. Knot in place. You might notice that the body of the bunny is still open -- take a separate piece of yarn and stitch up the back, gradually stuffing the body as you go.

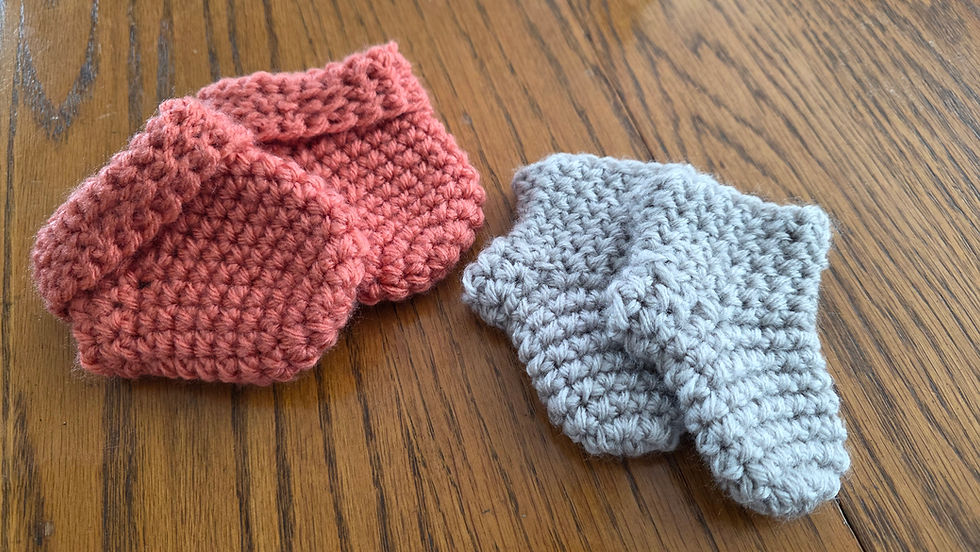
The limbs will need to be crocheted separately, then stitched in place.
For the back feet:
Chain 7
SC 4 rows
Use tail end of yarn to stitch up into a long roll/foot shape
Repeat for second hind foot
For the front feet:
Chain 4
SC 4 rows
Use tail end of yarn to stitch together into a foot shape.
Repeat for second front foot
Using your crochet/tapestry needle, attach the limbs to the rabbit in the position you'd like them in. If you want your rabbit to be standing vertically like mine, make sure your back feet are attached evenly at the bottom. Otherwise your bunny might nit be able to stand on its own!
Don't forget to weave in all your loose yarn ends!
If you are making your own pom pom, you can stitch it onto the back of your bunny. If you are using a premade pom pom, you may have to hot glue it to the back.
For the facial features, use the pink yarn for the nose! No need to knot, just thread your needle and stitch your nose where you want it. Make sure to stitch over the same place several times so everything stays in place. Use a crochet hook to pull your loose yarn ends into the bunny when finished.
Use the same technique for the bunny eyes, only in the black yarn this time. You can even use the same strand of yarn for both eyes! Once you're finished stitching the eyes onto your bunny, use a crochet hook to pull your loose yarn ends into the body.
Your crochet bunny is finished! Hopefully you had as much fun making your crochet bunny as I had making mine!


Comments